Create a News Feed Post
A News Feed delivers a stream of timely, relevant content to Members on your website or within your mobile app. The News Feed can optionally include your own posts, as well as posts written by Members, and system-generated posts based on Member actions (such as completing a Challenge or redeeming a Reward).
To create a News Feed post:
-
Select Communities from the top navigation bar, then select News Feed from the side navigation menu. The News Feeds screen is displayed.
-
Search for and select the desired News Feed (see Search for a News Feed for more information on the available search options). The News Feed Details screen is displayed, with the Posts tab displayed by default.
-
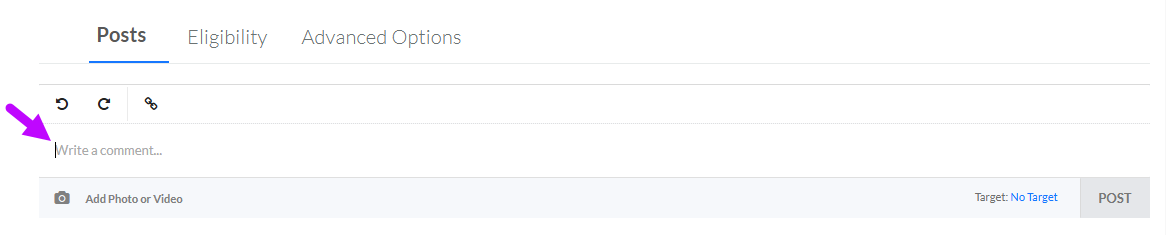
In the Comment field, enter the text of the post.
-
Optionally, to insert a link into the post, highlight the text you want to make into a link, then click the Link icon. In the URL field, enter the link URL. The Text field is populated with the text you highlighted; optionally change this text. Optionally, check Open in New Tab to have the link open a new browser tab when a Member clicks it. Click Insert.
-
After inserting a link, you can optionally format the link appearance. Click the linked text, then from the toolbar menu, click the Style icon. From the sub-menu, select Green to make the linked text green, or Thick to boldface the linked text.
-
To add a photo or video to the post, click the Add Photo or Video link. Browse to the desired file on your local PC, then click Open. The platform displays a thumbnail of the selected item.
-
The platform allows you to use the post to target a Loyalty asset. To target an asset, click the Target link. The Target pop-up window is displayed. From the first drop-down menu, select the asset type (Challenge, Offer, Reward, Product Item, Event, Punch Card, or URL). If you selected URL, enter the destination URL. If you selected any other option, selected the desired asset of the selected type. Click Set Target.
-
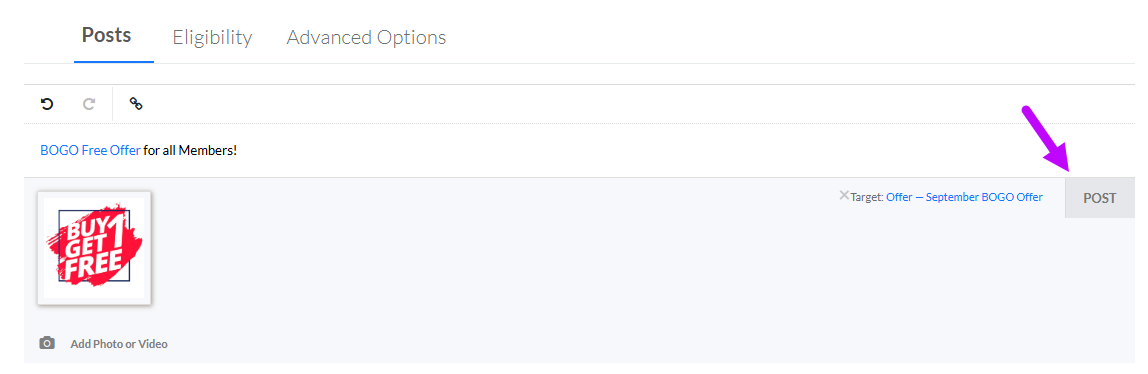
When finished, click Post. The platform creates the post, and displays the Edit Post pop-up window where you can configure several additional properties.
-
Within the Edit Post pop-up window, optionally make any changes to the post's text or targeted asset.
-
Determine when you want to publish the post:
-
Publish Now: To publish the post immediately upon saving, check Publish Now.
-
Publish Later: To publish the post at a specified date / time, uncheck Publish Now. Click into the first date field, and select the date / time when you want the post to get published. Optionally, to define an end date, click into the second date field, and select the date / time when you want the post to get removed. If you don't define an end date, the post will stay published indefinitely. From the Time Zone drop-down menu, select the time zone to use when determining the start time and end time (if defined).
-
-
Click Save.